1
2
3
4
5
6
7
8
9
10
11
12
13
14
15
16
17
18
19
20
21
22
23
24
25
26
27
28
29
30
31
32
33
34
35
36
37
38
39
40
41
42
43
44
45
46
47
48
49
50
51
52
53
54
55
56
57
58
59
60
61
62
63
64
65
66
67
68
69
70
71
72
73
74
75
76
77
78
79
80
81
82
83
84
85
86
87
88
89
90
91
92
93
94
95
96
97
98
99
100
101
102
103
104
105
106
107
|
"""
Created on Fri Sep 28 12:03:29 2018
@author: Cuixingxing
"""
import torch
from torchvision import transforms
import torch.nn as nn
import torch.nn.functional as F
from torch.autograd import Variable
from PIL import Image
import matplotlib.pyplot as plt
import numpy as np
import os
class testNet(nn.Module):
def __init__(self,input_size=(3,300,300)):
super(testNet, self).__init__()
self.conv1 = torch.nn.Sequential(
torch.nn.Conv2d(3, 32, 3, 1, 1),
torch.nn.ReLU(),
torch.nn.MaxPool2d(2))
self.conv2 = torch.nn.Sequential(
torch.nn.Conv2d(32, 64, 3, 1, 1),
torch.nn.ReLU(),
torch.nn.MaxPool2d(2))
self.conv3 = torch.nn.Sequential(
torch.nn.Conv2d(64, 64, 3, 1, 1),
torch.nn.ReLU(),
torch.nn.MaxPool2d(2))
n_size = self._get_linear_inNums(input_size)
self.dense = torch.nn.Sequential(
torch.nn.Linear(n_size , 128),
torch.nn.ReLU(),
torch.nn.Linear(128, 64),
torch.nn.ReLU(),
torch.nn.Linear(64, 10),
torch.nn.ReLU(),
torch.nn.Linear(10, 5)
)
def _get_linear_inNums(self,shape):
batch_x = 1
temp = Variable(torch.rand(batch_x,*shape))
single_feature = self._forward_features(temp)
n_size = single_feature.view(batch_x,-1).size(1)
return n_size
def _forward_features(self,x):
x = self.conv1(x)
x = self.conv2(x)
x = self.conv3(x)
return x
def forward(self, x):
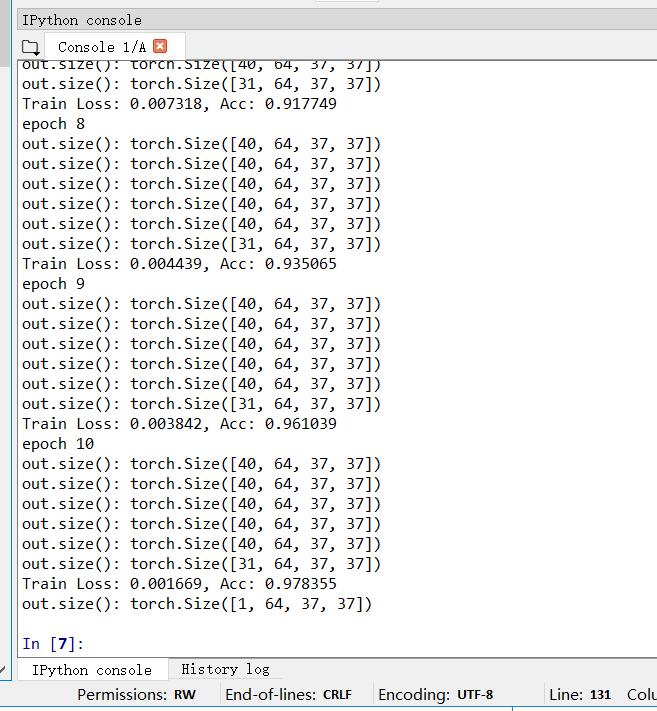
out = self._forward_features(x)
print('out.size():',out.size())
res = out.view(out.size(0),-1)
out = self.dense(res)
out = F.log_softmax(out,dim = 1)
return out
net = torch.load(r'E:\python_work\pytorch_classify\myclassifyer.pkl')
transform1 = transforms.Compose([transforms.Resize((300,300)),
transforms.ToTensor()])
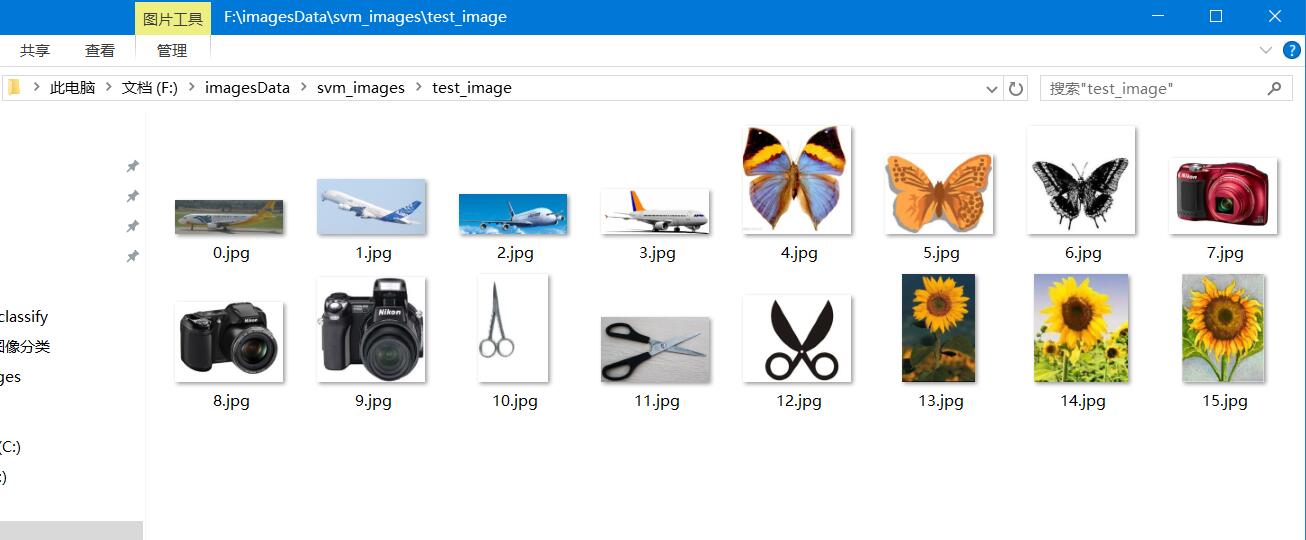
rootdir = r'F:\imagesData\svm_images\test_image'
imageLists = os.listdir(rootdir)
for imgname in imageLists:
img = Image.open(os.path.join(rootdir,imgname)).convert('RGB')
image = transform1(img).unsqueeze(0)
net.eval()
net.cpu()
out = net(image)
pred = torch.max(out, 1)[1]
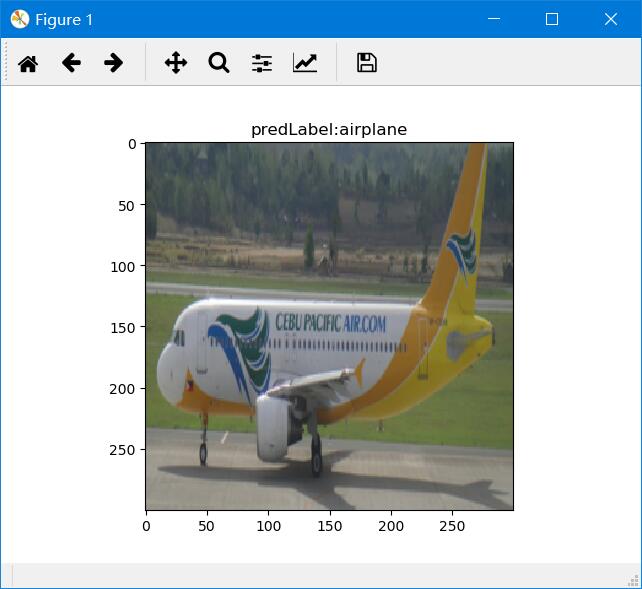
if pred==0:
predLabel = 'airplane'
elif pred==1:
predLabel = 'butterfly'
elif pred ==2:
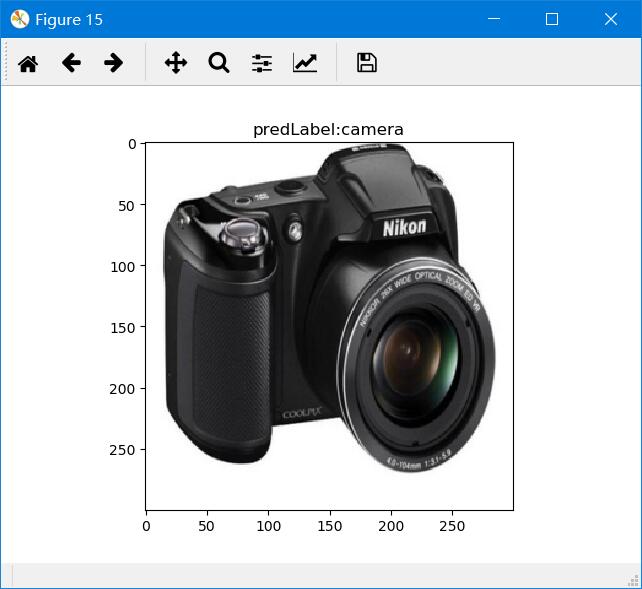
predLabel = 'camera'
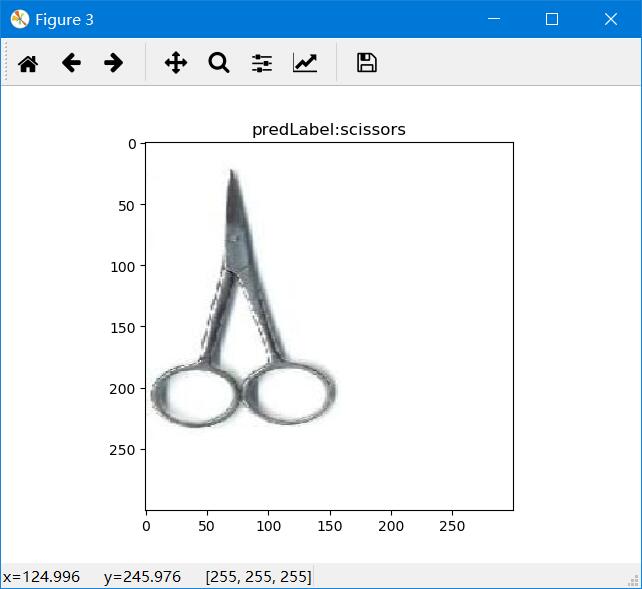
elif pred==3:
predLabel ='scissors'
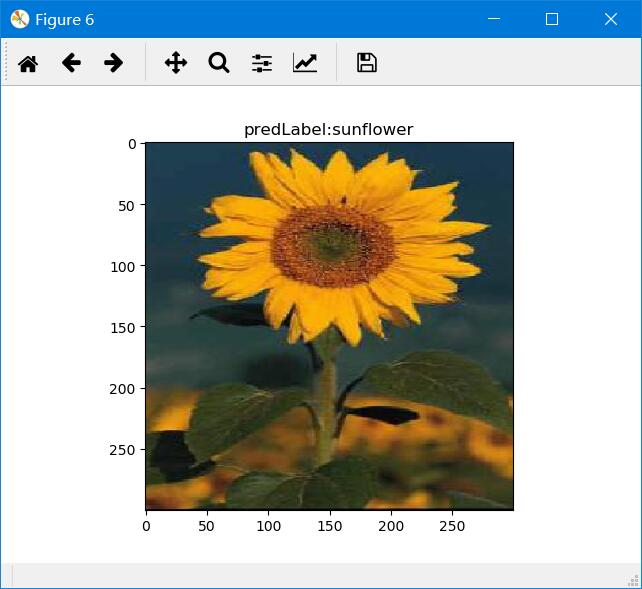
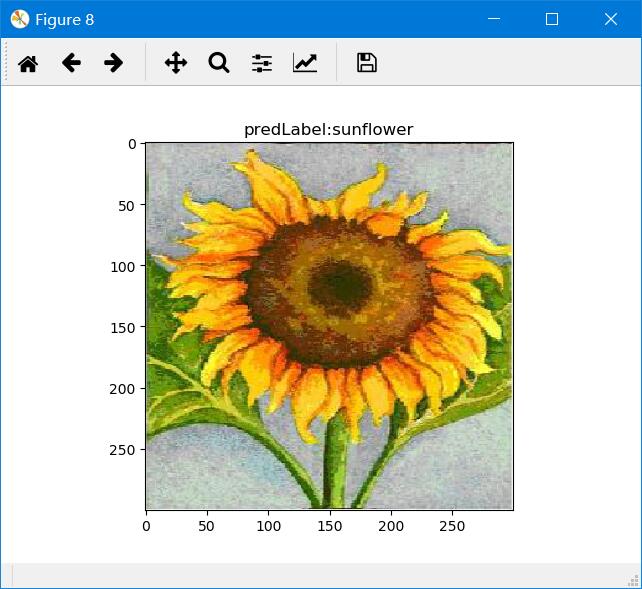
else:
predLabel = 'sunflower'
img_numpy = image.squeeze().numpy()
img_numpy = img_numpy.transpose((1,2,0))
img_numpy = np.floor(img_numpy*255).astype('uint8')
plt.figure()
plt.imshow(img_numpy)
plt.title('predLabel:'+predLabel)
plt.show()
|